
BROWSE ALL GUIDES
Create and collaborate on files
Seamless file-sharing is a key feature across Spaces, Events, and Chats, allowing users to collaborate in real-time and share files effortlessly. For added convenience, TIMU Spaces also integrates with popular cloud file services like Google Drive and Dropbox.
Create, upload and organize files to share in Spaces
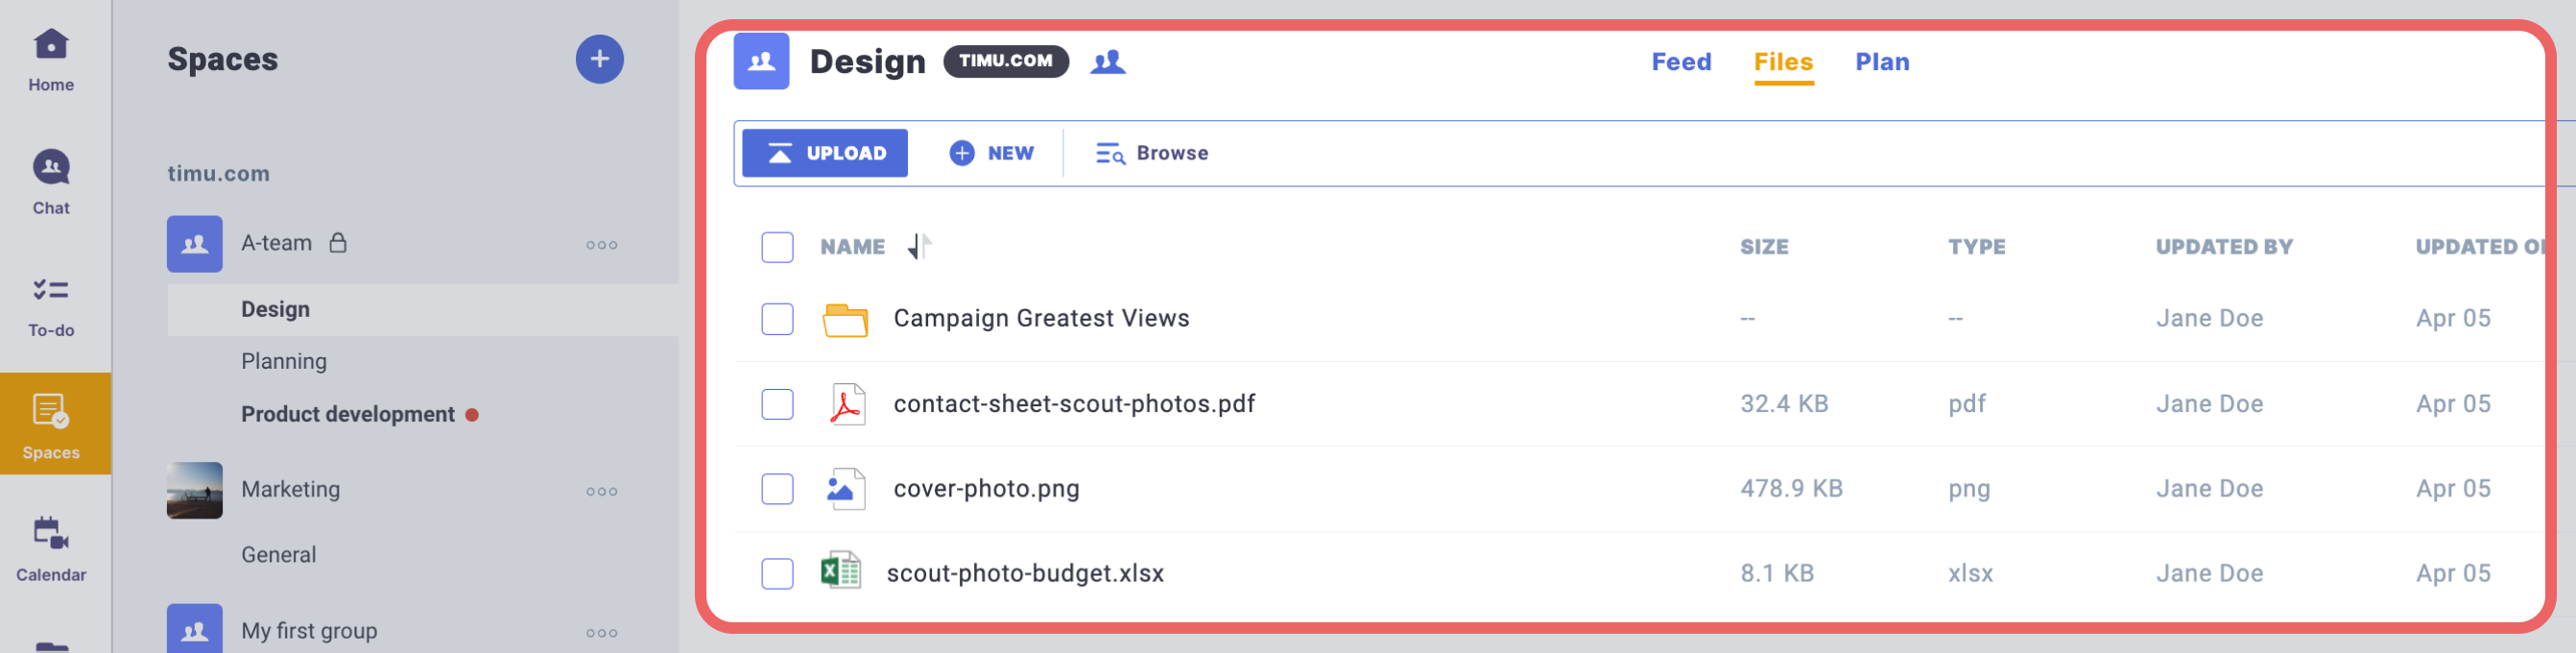
Each space has its own file library that is only accessible to members of that space. All files attached to any post, event comment, or task comment within that space appear here, making it easy to find the files you need.
You can preview, download, and in some cases, edit files directly from the file library. If you hover over a file, the triple-dot icon will appear, and clicking on this icon allows you to rename, delete, or share the file. You can also take bulk actions on files by selecting multiple files and performing the desired action.
File libraries support organization into folders and sub-folders, making it easy to keep files organized and accessible. You can create a new folder by clicking the “New Folder” button and specifying a name for the folder. You can navigate between folder levels using the folder breadcrumbs that appear whenever you are viewing a folder’s contents.
In addition, if your workspace uses the video call feature, you may see folders for event recordings and transcripts.
To add files directly to a file library, click the “Upload Files” button and select the files you want to attach from your computer. To create a brand new file, such as a new Microsoft Word document, click the “New File” button and select the type of file you would like to create. You will be asked to provide a name for the file. When the file is created, you will be immediately taken to the preview page for that file.
To view a file’s preview, or to edit files (for file types supporting online editing), click the file’s name.
Attach, upload and share files in Chats

Files in TIMU Chats work in a similar way to those in Spaces. Whenever a user attaches a file to a chat message, that file is automatically added to the chat’s file library.
These files can be previewed, downloaded, and in some cases, edited directly from the file library.
Hovering over a file will cause the triple-dot icon to appear, and clicking on this icon allows you to rename, delete, or share the file. Files in libraries support bulk actions, allowing you to delete multiple files at once or perform other actions.
File libraries support organization into folders and sub-folders, making it easy to keep files organized and accessible. You can create a new folder by clicking the “New Folder” button and specifying a name for the folder. You can navigate between folder levels using the folder breadcrumbs that appear whenever you are viewing a folder’s contents.
To add files directly to a file library, click the “Upload Files” button and select the files you want to attach from your computer. To create a brand new file, such as a new Microsoft Word document, click the “New File” button and select the type of file you would like to create. You will be asked to provide a name for the file. When the file is created, you will be immediately taken to the preview page for that file.
To view a file’s preview, or to edit files (for file types supporting online editing), click the file’s name.
Attach, upload and share files in Events

Whenever a user attaches a file to an event message, that file is automatically added to the event’s file library. These files can be previewed, downloaded, and in some cases, edited directly from the file library.
Hovering over a file will cause the triple-dot icon to appear, and clicking on this icon allows you to rename, delete, or share the file. Files in libraries support bulk actions, allowing you to delete multiple files at once or perform other actions.
